Friday, April 11, 2014

Hummus...

So after making all that tzatziki and pita the other day, all I wanted was a big batch of hummus. I love hummus and thanks to one of my favorite chefs, ok really he is my favorite, I have an awesome recipe that I have used time after time with amazing success. Alton Brown you are awesome! He even has a video you can watch. I will include his recipe below, you can probably find the video on any of those fancy internet video sites or try you library, mine has some of his videos and yours may, too.

This is a slow cooker recipe. Usually I put the garbanzo beans on to cook overnight and then make the hummus in the morning to serve for lunch. However, this day I cooked the beans in the morning and we had hummus by dinner. Normally I cook the beans on low for 8 hours, this time I did high for 5 hours and they came out great.

Just put the beans in the cooker, add the required 7 cups of water and 1/4 tsp baking soda. That's it. Then literally set it, walk away and forget about it. 
 After about 4 hours this is what they looked like. I let them cool a bit, then I drained them and set them aside to cool further.

 Next I got all the other ingredients ready...garlic, lemon juice, olive oil, salt, tahini (sesame paste, it usually is found in the international section of the grocery store, one jar is pretty cheap and should last quite some time). I didn't have enough lemon juice so I added the zest, too, to add a little more lemon flavor. I like it with extra lemon though. I feel most things are great with a little extra lemon. You can thank my little sister for this.
 I make the hummus in my food processor. It gets really full but it comes out great. First put in the garlic, salt, and then all the beans. Pulse and scrape down as needed. Then add the lemon juice and water. Puree a bit more, then add the tahini. It takes a little stirring to get it to puree all of it. The picture below is before I slowly stream in the olive oil.
 Then slowly stream in the olive oil. After it's incorporated. Open up the food processor and taste the hummus. You may need some extra lemon  or salt. Add the required seasoning, then give a couple more spins and move to a serving dish.
 Then sprinkle the top with a little ground sumac. I don't know where to buy this. I got mine from a mail order recipe of the month club I used to be a part of before I quit my job. I can't afford awesome stuff like that on one income. You should check it out though, they pair recipes with music and you get a 7" record and a gourmet ingredient that goes with the recipe every month, too. It is an amazing concept.
http://www.turntablekitchen.com/
 I, of course, had to make another round of fresh pita.
 It was so good! Now if only I could get munchkin to eat hummus, all would be well in my world. He does love the pita though.
Hummus
Slow Cooker Chickpeas:
7 cups water
1 pound dry chickpeas, sorted and rinsed
1/4 teaspoon baking soda
Place the water, chickpeas, and baking soda in a 2 1/2-quart slow cooker. Cover and cook on high heat for 4 hours, or on low heat for 8 to 9 hours, or until tender. Drain and serve immediately, or use in desired dish.

1 pound Slow Cooker Chickpeas, cooled
2 cloves garlic, minced
1 1/2 tsp kosher salt
5 tbsp fresh lemon juice
1/4 c water
1/3 c tahini, stirred well
1/4 c olive oil, plus extra for serving
Powdered sumac, for garnish

Place the chickpeas, garlic, and kosher salt in the bowl of a food processor. Process for 15 to 20 seconds. Stop, scrape down the sides of the bowl, and process for another 15 to 20 seconds. Add the lemon juice and water. Process for 20 seconds. Add the tahini. Process for 20 seconds, then scrape down the sides of the bowl. With the processor running, drizzle in the olive oil.

Alton Brown's original recipe:
http://www.foodnetwork.com/recipes/alton-brown/hummus-for-real-recipe.html

Pita-makes 8

1 cup hot water
2 tsp yeast
2 1/2-3 cup bread flour
2 tsp kosher salt
t tbsp olive oil plus more for bowl

Add water and yeast to bowl of stand mixer and stir together. Let sit five minutes until yeast is dissolved. Add salt, olive oil and about 2 cups of flour to bowl with bread hook attachment. Mix on low until incorporated, then slowly add remaining cup to dough until it makes a nice balls and no longer sticks to bowl. (you may not need it all) Increase speed to medium (4 on my mixer) and "knead" for 6-8 minutes.  Remove dough to a clean bowl that is lightly coated with olive oil and set aside, covered with a damp towel for an hour and a half or until doubled in size.

When dough has doubled divide it into 9 equal balls. Rolls out balls into flat round discs using a lightly floured rolling pin on a lightly floured surface. Preheat a cast iron skillet over medium high heat until hot. Lightly oil pan with olive oil and cook one pita at a time, about 2-3 minutes per side. When bubbles start to form on the uncooked side, it is time to flip. Put fully cooked pita on a plate covered with a dry, clean kitchen towel to keep warm until all the remaining pita are cooked.

Thursday, April 10, 2014

Tzatziki and pita....

Homemade PITA is the best
I was in the mood for Greek this week. My husband requested that I buy him some plain Greek yogurt. There is something about having Greek yogurt in the house that makes me HAVE to make Tzatziki. Also one of munchkin's favorite snacks is freshly sliced cucumber, so I pretty much always have one lying around. Really it was meant to be. I also decided to make fresh pita, just for the fun of it.

Making pita is actually pretty easy and very rewarding, as long as you aren't on a gluten free diet. All you have to do is mix up a little dough using yeast, water, salt, olive oil and a couple of cups of bread flour.
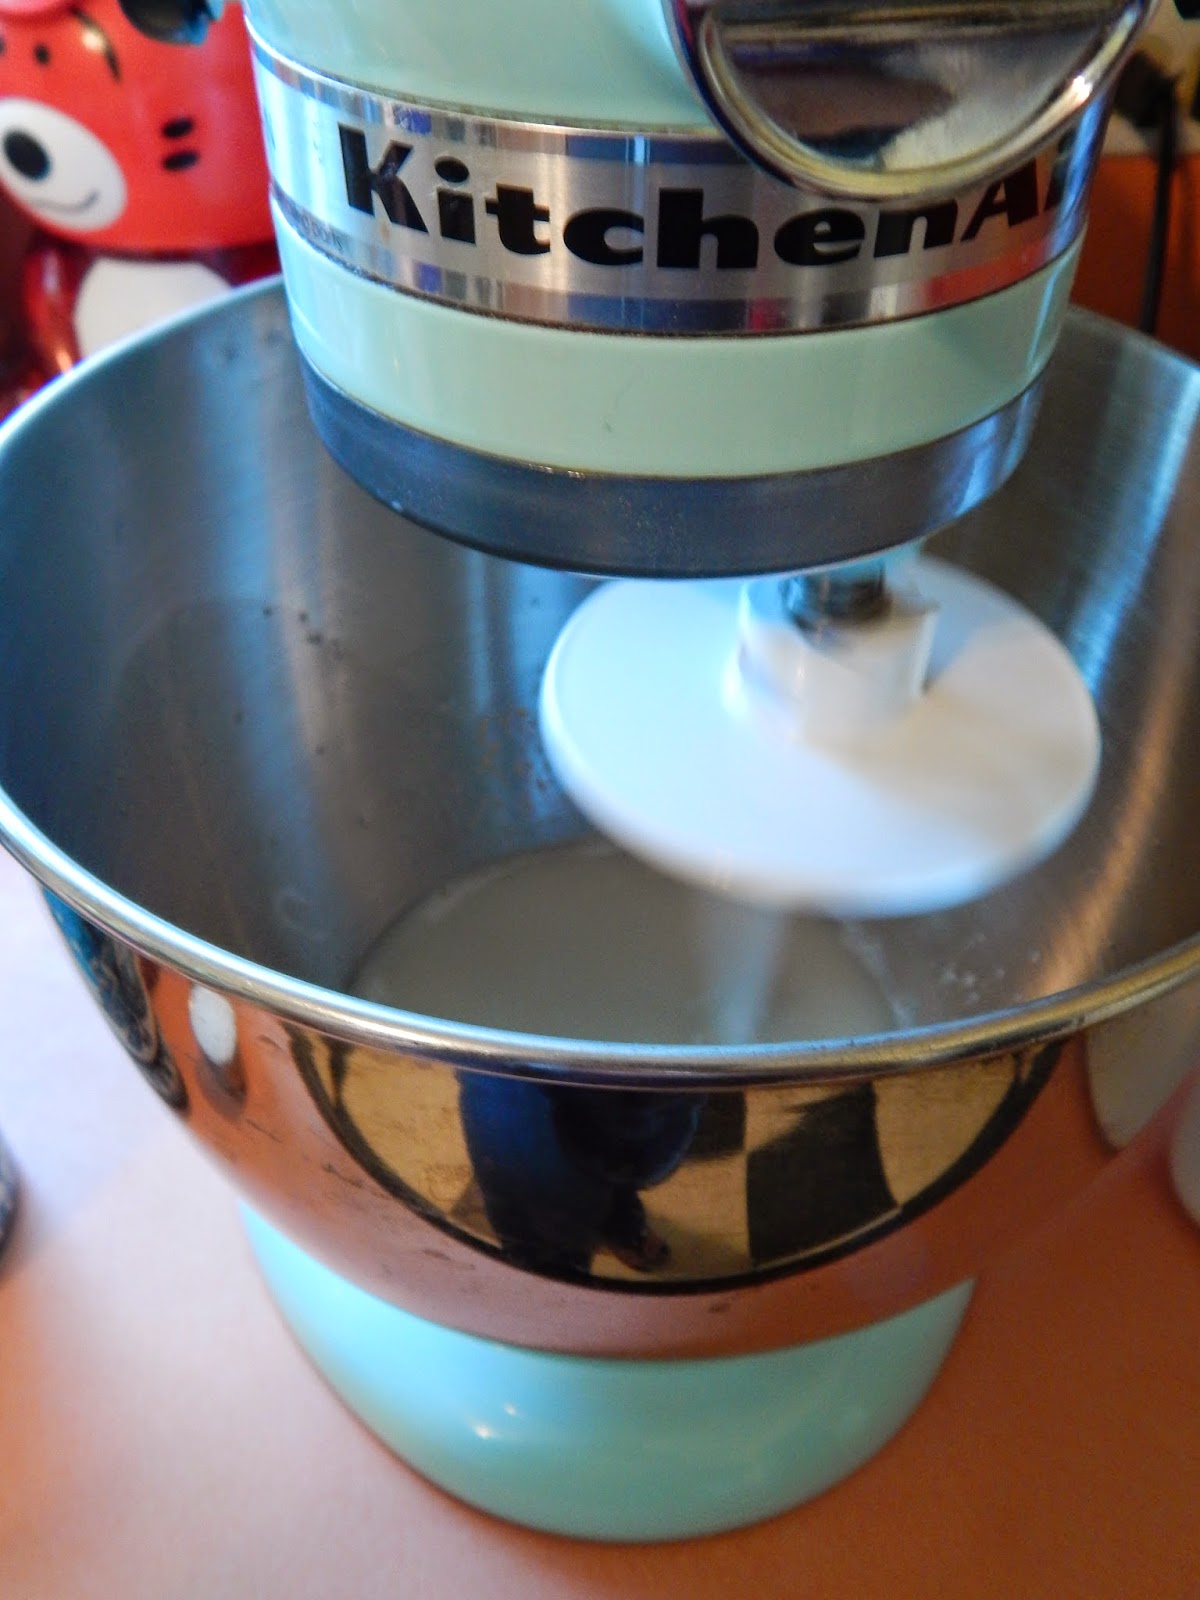
Then let the mixer do all the kneading for you. I set my mixer on number 4 after I added all the flour and it was incorporated, then let it go for about 8 minutes. If you have the kind of mixer I do, be sure to lock the head down or you will regret it. TRUST ME!
 Put the dough into a clean bowl lightly coated with olive oil and let it set around covered with a damp towel for about an hour and a half. Yes, I do have an extra mixer bowl and you should, too. It is totally worth it. I got mine as a gift but almost every time I use my mixer I need a second bowl. You will be surprised how much you use it once you have it.

 During the rise time I made the tzatziki (although I recommend making the tzatziki the night before so it will be really yummy). It is pretty much Greek yogurt, lemon juice and zest, shredded cucumber and fresh dill. This is not only good on pitas but also as a dip for your favorite veggie platter.
To prep the cucumber, start with a really good cucumber. I only use the hot house cucumbers that come wrapped in the plastic. They are my favorite, unless I have some fresh from the garden. The regular ones at the grocery store always seems to have a thick coating of wax on them (if you are using those you may want to peel them first). I start by cutting the cucumber out of the plastic, then I give it a good wash, cut off the end and split it in half both ways, vertically and horizontally. This recipe only uses half a cucumber, so save the other have for a salad or as an afternoon snack. Next I scrape out the seeds using a spoon. This decreases the amount of water you get out of the cucumber and I don't like the seeds in my tzatziki.

 Next take your handy dandy cheese grater and grate the cucumber, peel and all. Then you want to squeeze out as much liquid as possible. I just put it into a paper towel and squeez it like crazy over the sink until hardly any water comes out. The paper towel may break but you can just keep it contained in your hands.
 Next I zested and juiced one lemon. I zest my lemons with a fine microplane, it is perfect for the job.
 Next wash and dry your fresh dill. Remove any large stems and finely chop.
 Mix everything together and refrigerate, covered until ready to eat. Like I said earlier, it is better the next day.
 After awhile when the dough has doubled in size, I divided the dough into 9 equal balls (there's 3 of us, so I wanted to be sure everyone got the same amount, the recipe originally called for 8 portions). Roll them out to about an 1/8" to 1/4" using flour as needed.
 I cooked my pita on a flat cast iron pan. Start by preheating it until hot, over medium high heat, then drizzle on some olive oil. Cook the pita for a few minutes per side. You can see the bubbles in the dough start to form and the other side will lightly brown. Then flip, cook for a couple more minutes and remove to a plate covered with a dry, clean kitchen towel. This works great to keep in the warmth while you cook the remaining dough.

I served mine with some Greek marinated chicken, fresh red onions and straight from the garden spinach leaves. It was so good. It was a twist on taco Tuesday ;-)


Tzatziki

16 oz Greek style yogurt, plain
1/2 cucumber, washed, seeded and grated
1 clove garlic, finely minced
4 tsp lemon juice
4 tsp olive oil
2 tsp lemon zest
4 tsp fresh dill, chopped ( I like extra, so I always add more)
salt and pepper to taste

Mix everything together in a bowl and refrigerate, covered for at least two hours to overnight.

Pita-makes 8

1 cup hot water
2 tsp yeast
2 1/2-3 cup bread flour
2 tsp kosher salt
t tbsp olive oil plus more for bowl

Add water and yeast to bowl of stand mixer and stir together. Let sit five minutes until yeast is dissolved. Add salt, olive oil and about 2 cups of flour to bowl with bread hook attachment. Mix on low until incorporated, then slowly add remaining cup to dough until it makes a nice balls and no longer sticks to bowl. (you may not need it all) Increase speed to medium (4 on my mixer) and "knead" for 6-8 minutes.  Remove dough to a clean bowl that is lightly coated with olive oil and set aside, covered with a damp towel for an hour and a half or until doubled in size.

When dough has doubled divide it into 9 equal balls. Rolls out balls into flat round discs using a lightly floured rolling pin on a lightly floured surface. Preheat a cast iron skillet over medium high heat until hot. Lightly oil pan with olive oil and cook one pita at a time, about 2-3 minutes per side. When bubbles start to form on the uncooked side, it is time to flip. Put fully cooked pita on a plate covered with a dry, clean kitchen towel to keep warm until all the remaining pita are cooked.

Sunday, April 6, 2014

"German" Chocolate style cake....kind of.....

Friday was my niece's 8th birthday and I asked her what she wanted as her birthday treat. She requested a chocolate cake with coconut and topped with cherries. I decided to make her a chocolate cake with German chocolate cake filling, a homemade chocolate frosting and topped it with maraschino cherries. I have a chocolate cake recipe that is my absolute favorite. It ALWAYS comes out moist and delicious. The recipe uses sour cream and canola oil instead of the typical butter. The best part is you don't have to get that mixer dirty because it mixes up by hand. I made a double batch of the recipe for this cake but I probably shouldn't have because I have a whole cakes worth of trimmings left over. (Don't worry that cake found a good home)

Here's just a little cake trivia....German chocolate cake isn't German at all. The recipe was "invented" by a guy whose last name was German and he made chocolate. I am sure you have seen German brand baking chocolate in the store. Right? Well since I didn't use his recipe or his brand of chocolate, I just don't feel that I can call it a German chocolate cake. However I did make the typical filling with coconut and chopped pecans.

I baked 3 9" layers, LATE the night before her birthday. When they cooled I wrapped them in plastic wrap and left them on the counter overnight. In the morning I trimmed the layers nice and even. I have a handy "cake saw" that cuts them even every time. I am horrible at doing it free hand, they always come out crooked. Then I wrapped all three layers in plastic wrap and set them aside while I did all the other parts of this recipe.
Next I started working on the filling. The recipe I use calls for unsweetened coconut, that you then toast. However, unsweetened coconut was ridiculously expensive and my grocery store was having a sale on pre-toasted coconut. It was actually cheaper than regular coconut and it saved me time. It tasted good too. I love finding good deals like this. :-) I used the whole 7 oz bag because there was such a small amount left after I measured it out, I decided to throw it all in.
The custard that goes into this filling is really simple. I just added cream to a medium pot at medium-low heat, then I added the sugar and whisked egg yolks. It cooks for about 10 minutes until it starts to thicken. I stirred it constantly and removed it from the heat when the miixture coated the back on my "spoon".
 
At this point it was time to add the coconut, chopped pecans and cubed butter. I stirred it all together and let it set out to cool to room temperature for a couple hours, stirring occasionally, while I prepared everything else.
 Now, since my niece wanted cherries on top, I went ahead and pulled them out of their liquid and let them set on a paper towel to drain. You don't want all that cherry juice to get all over your beautiful cake. If you start draining them at this point in the recipe they will be nice and dry by the time you want to decorate. Just watch the kiddos, my little munchkin kept trying to steal them. I eventually gave him a fork and the jar of leftovers, so he wouldn't steal my dry ones.
 Next I started on the frosting. This is the first time I made this chocolate frosting and let me tell you it was amazing! This recipe made exactly enough for the cake. So if you like extra or are heavy handed with frosting make a double batch. I wish I had because the cake made with the leftovers/trimmings didn't get any frosting and I really wanted some more. Oh well.

To make this frosting, I melted a bunch of butter (the exact recipe follows), removed the pot from the heat and then stirred in Ghirardelli (my favorite) semi-sweet chocolate chips and (don't hate me) some corn syrup. I stirred it until all was melted and smooth. Then I put 1 cup in the fridge to cool to spreading consistency and left the rest of the frosting in the pot on the counter to stay warmish.

 At this point I sat down for an hour to help my little munchkin, now on a cherry induced sugar rush, try to do his school work. When everything was cooled I started the assembly process.

I started by placing the cake on a rack over a pan to catch any mess. Also my cake pan has a removable bottom, so I left one layer on the metal circle, I made this the bottom layer, of course. If you don't have that you will want a cake board the same size as your cake or you could even assemble it on whatever platter you plan to serve the cake on, it just may get messy and require a little cleaning before presentation. I spread the filling over the first layer, then carefully stacked the next layer of cake and repeated. I did end up with about a cup of extra filling. If I were you I would serve it on the side for those that like extra filling. I used mine to make the trimming cake ;-)

 Then it was time to use the frosting I chilled in the fridge. I stirred it up and used it as a crumb coat. It is enough to thinly coat the entire cake, as in the picture below.
I then poured the remaining, warmish frosting, over the top of the cake and slowly spread it evenly over the top and down the sides. I gave it a little swirl on top with my Icing spatula. I let the frosting set a few minutes to firm up and then topped it with the dried cherries and HAPPY BIRTHDAY. This cake was awesome! Even with all the work, I would totally make it again. I may even make it for myself for my birthday. I thought the cherries would be weird, but they weren't. I love maraschino cherries and I think they went well.


Dark Chocolate Cake
(This recipe makes 3-8" layers, I doubled it for the cake above, but I had quite a bit of trim, almost enough to make a whole other cake, so you decide)
2 c cake flour
1 c cocoa powder
2 c sugar
1 tsp baking powder
1 tsp baking soda
1 tsp salt
2 eggs
1 tsp vanilla
1 c sour cream
1/2 c canola oil
1 c HOT water
1 tsp white vinegar (don't worry you can't taste it, I PROMISE)

Preheat oven to 350 degrees. Lightly butter or spray with nonstick baking spray, three round 8" pans. Set aside. Sift together all the dry ingredients, except the sugar, into a large bowl, then add the sugar.
( I almost always forget the sugar, so make sure you add it.) In a separate bowl whisk together all the wet ingredients until well combined. Then pour the wet ingredients into dry ingredients and slowly stir until thoroughly incorporated. Pour batter evenly into three pans and bake for 35-40 minutes until a toothpick poked into the center comes out clean. Let cool on wire rack for about 10 minutes in the pan, then gently remove from pan and let cool completely on wire racks. Then wrap in plastic wrap until ready to use (not more than 24 hours ahead, for optimum moistness).

Creamy Coconut Pecan Filling (I slightly modified Paula Deen's recipe)
1½ cups heavy whipping cream
1½ cups sugar
5 egg yolks, whisked together
6 tablespoons butter, cold and cut into cubes
2 cups flaked coconut, toasted (1- 7oz package pre-toasted coconut)
1½ cups pecans, toasted and chopped
1 tsp vanilla

In a medium saucepan, combine cream, sugar, and egg yolks. Cook over medium-low heat, stirring constantly, until sugar is dissolved and mixture coats the back of a spoon, about 10 minutes. Remove from heat, and add cubed butter, toasted coconut, and chopped pecans, stirring until butter is melted. Let stand until mixture reaches room temperature and thickens. (If for some reason it isn't thick enough after cooling, just add more coconut)

Chocolate Frosting
2 1/2 sticks unsalted butter
10 ounces Ghirardelli semisweet chocolate
3 tablespoons light corn syrup

Melt butter in a 3-quart saucepan. Remove pan from heat and add chocolate and corn syrup, whisking until chocolate is melted. Transfer 1 cup to a bowl and Chill, stirring occasionally, until thickened and spreadable, about 1 hour. Keep remaining frosting at room temperature in pan.

Assembly
1  small jar Maraschino cherries, drained on a paper towel (optional)

Put 1 cake layer on a rack set over a baking pan (to catch any mess). Spread a few spoonfuls of coconut filling (about 2 cups) into center of cake and spread evenly all the way to the edge. Top with another cake layer and spread with another few spoonfuls (about 2 cups). Top with the last  layer. Spread the cooled frosting from the refrigerator evenly over top and side of cake to form a crumb coat. (If the frosting in the pan is no longer easily poured, slowly warm it over low heat until you can pour it. Be sure not to warm it to much) I didn't need to warm mine. However I keep my house warmer than most.  Pour the frosting evenly over the top of the cake, making sure it coats the sides all the way around. You may have to spread it out and smooth it a little, to make sure the whole cake is coated. At this point transfer it to your serving platter, fix any holes your fingers may have made and top it with cherries for decoration, if desired. You could also use any remaining filling to decorate the top (I had about a cup left).

Monday, March 31, 2014

Fish Sandwiches....

I have been craving seafood, Cajun food and po' boys for a couple months now. However due to our limited budget we can't afford all that amazing stuff. So I came up with an alternative, "Blackened" fish sandwiches. We found Swai on sale at the local grocery store and decided to give it a go. Swai is a fancy name for Pangasius catfish, it is basically a really bland flaky white fish. I like it better than tilapia, which I don't really like at all. I don't like it as much as other fish, though. If it were in the budget I would make this same sandwich out of Mahi Mahi, cod, snapper, halibut, or grouper, pretty much anything but Swai or tilapia. So basically buy one of those if you can afford it, but I used Swai. You gotta use what you have, whether you prefer it or not.

Our local Hong Kong market sells some amazing fresh baked sandwich sized French breads. They make their Bahn Mi sandwiches with these delicious rolls and they sell them, 3 for $1.00. These are the perfect bread for French dips, meatball sandwiches, PO BOYS, and even everyday turkey sandwiches. It is a bit of a drive to get them but it is worth it. I toasted these breads up with a little butter until they were brown and crispy. Man they were so good!

 I decided to make a little Asian slaw to dress the sandwich. I started with rice vinegar, Sriracha hot sauce, olive oil and a little honey for the dressing.

 I used an angel hair, prepackaged slaw (because I got it free with a coupon) then dressed it with my dressing a couple hours ahead of time so it would wilt down and be nice and cold.

 I was out of my homemade Cajun seasoning and the ingredients to make it, so I seasoned three fillets with Old Bay seasoning and munchkin's fillet with just salt and pepper. He does not like anything spicy or even heavily seasoned, so he gets the lightest sprinkling of pepper and a good amount of salt. If you want my Cajun seasoning recipe go here: http://homeschoolin-chef.blogspot.com/2013/11/cajun-fried-turkey.html I let the fish set for a few minutes with the seasoning on it while I toasted the bread.
 For Christmas I received an electric skillet and it is awesome!! I used it to toast the lightly buttered breads and then removed them to a plate and I cooked the fish fillets on it too, until the were thoroughly cooked, about 3-5 minutes per side.
 I dressed the bread with the slaw and the fish fillets, then a little extra hot sauce to my liking. Munchkin has mayo and spinach on his toasted bun. These would be amazing with fresh cilantro, red onions and slice of perfectly ripe tomato. We, of course, were out of all these things, but if I were to go out and buy this meal specifically I would definitely insist on these three additions.(I would also insist on a better final picture, I always forget the final picture and rush to take it before all the food disappears) Oh and of course, serve it with a wedge or two of lemon.

Fish Sandwich

4 French Rolls or sub rolls
2 Tbsp butter, for the bread

4 fillets fish, white fish of choice (preferably Mahi Mahi, Cod, Halibut, or snapper)
Old Bay or Cajun Seasoning
Cilantro, red onions and tomatoes (optional for dressing the sandwich)
1 lemon cut into wedges, for garnish

Slaw
 1-10 oz package angel hair shredded cabbage
1 Tbsp honey
2 Tbsp rice vinegar
4 Tbsp olive oil
1 Tbsp Sriracha Hot Sauce
Pinch of salt and pepper to taste

Whisk all dressing ingredients together in a small bowl and toss with cabbage. Let refrigerate for a couple of hours to allow the cabbage to wilt slightly and absorb the dressing.